
Description
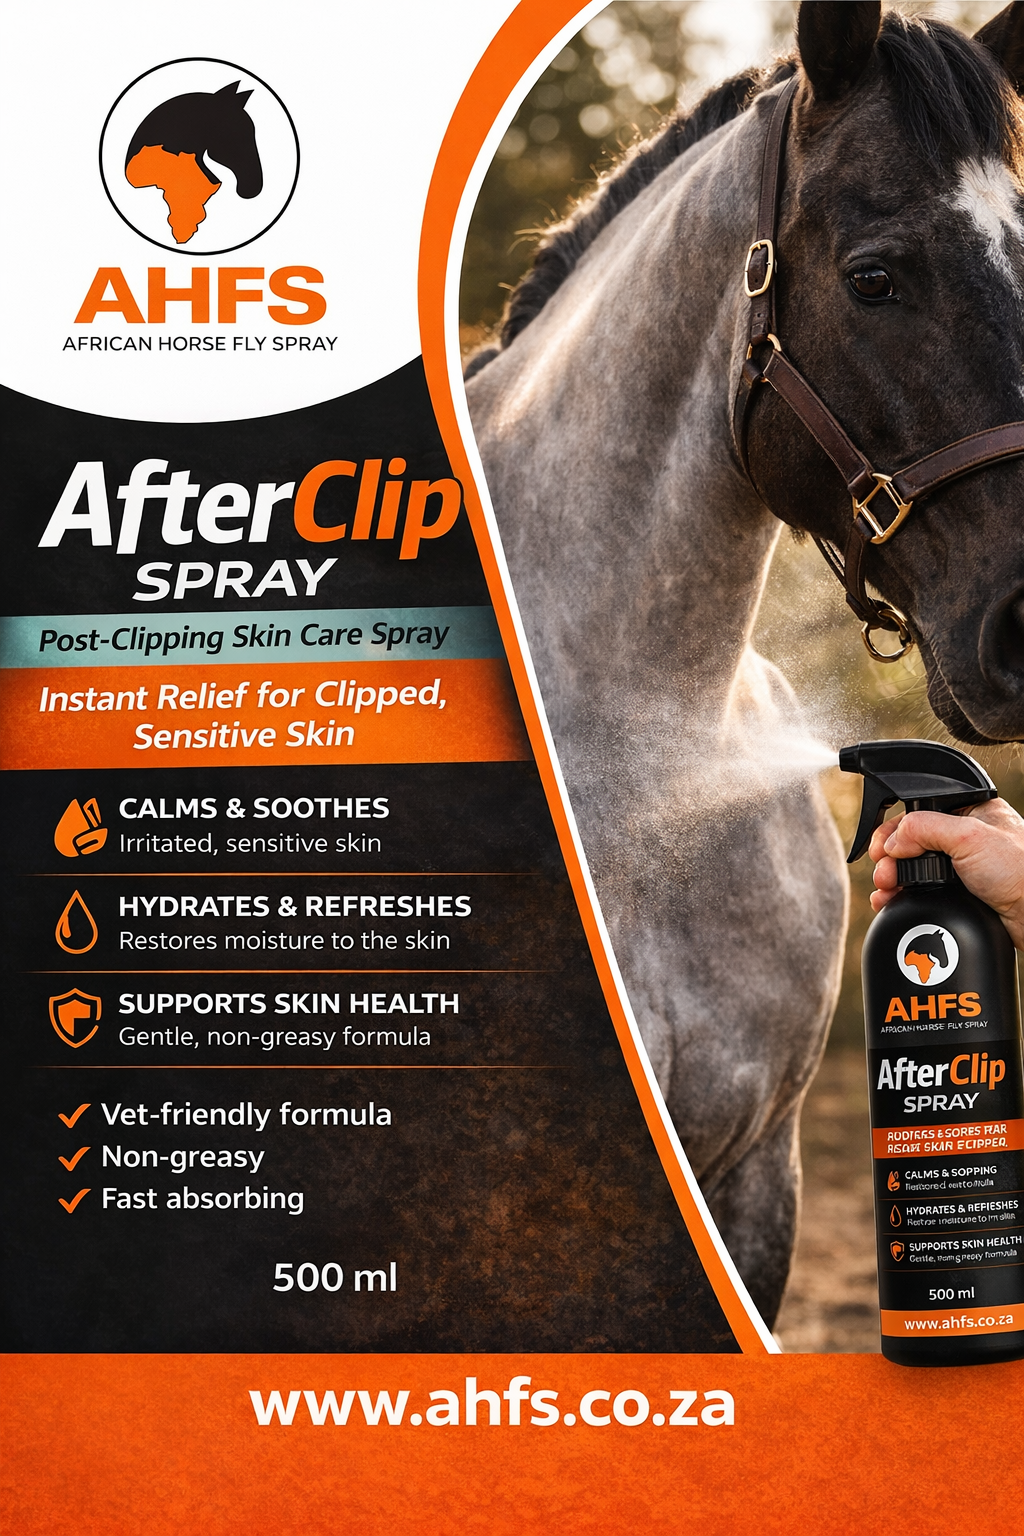
Post-Clipping Spray: How & Why
Why you should spray a horse after clipping
After clipping, a horse’s skin is more exposed and sensitive. Spraying helps to:
Disinfect the skin – reduces risk of bacteria entering tiny nicks or clipper lines
Prevent infections – especially important if there are small cuts or irritation
Soothe the skin – many sprays contain ingredients that calm irritation
Reduce clipper rash – helps prevent itching and bumps
Repel flies (if applicable) – some sprays add a protective barrier
How to apply the spray properly
1. Let the horse settle
Make sure clipping is finished and the horse is calm
Brush off loose hair with a soft brush or cloth
2. Check the skin
Look for nicks, cuts, or irritated areas
Pay extra attention to sensitive spots (girth, flank, behind elbows)
3. Shake the spray bottle
Ensures the ingredients are well mixed
4. Apply evenly
Hold the bottle about 15–30 cm away
Spray a light, even mist over the clipped areas
Avoid soaking the coat — a light coverage is enough
For the face and sensitive areas:
5. Spray onto a cloth first, then gently wipe on
Avoid key areas: Eyes, Inside ears, Nostrils
Open wounds (unless the product specifically says it’s safe)
6. Let it dry
Allow the horse to air dry before putting on rugs
Keep them in a clean, dust-free area if possible
Extra tips
Use a clean, sharp clipper blade next time to reduce irritation
If the horse is prone to skin reactions, choose a gentle antiseptic or soothing spray (like aloe-based or chlorhexidine-based)
Don’t over-apply — once after clipping is usually enough unless advised otherwise
Monitor for redness, swelling, or bumps over the next 24–48 hours


Reviews
There are no reviews yet.